To replace the primer bulb on a lawn mower, first, disconnect the spark plug and remove the old bulb. Then, insert the new bulb and reattach the spark plug.
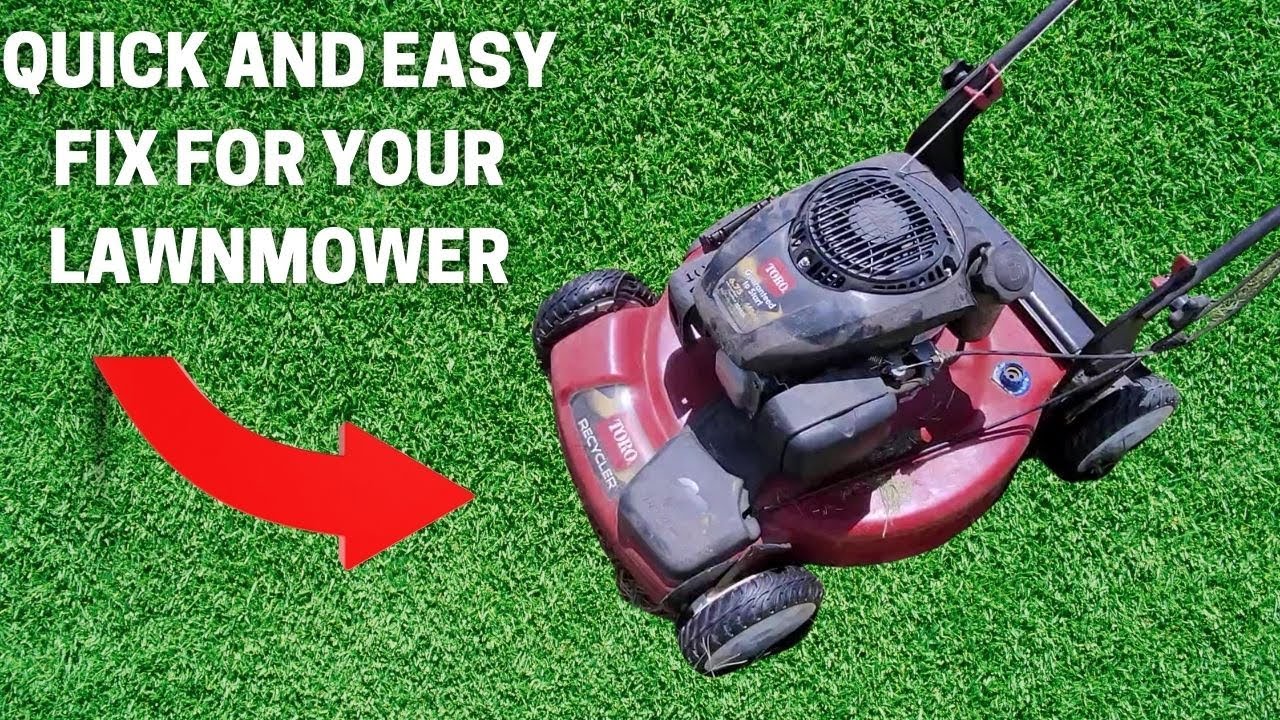
Replacing a primer bulb is a simple task that can help improve the performance of your lawn mower. Over time, primer bulbs can become cracked or worn out, leading to issues with starting and fuel flow. Luckily, replacing a primer bulb is a straightforward process that can be done at home with minimal tools.
In this guide, we’ll walk you through the steps to replace the primer bulb on your lawn mower, ensuring that your machine is ready for peak performance. Whether you’re a seasoned DIY enthusiast or a novice, this tutorial will provide you with the knowledge to tackle this task with confidence. By following these simple instructions, you can keep your lawn mower running smoothly and efficiently.
Understanding The Function Of Primer Bulb
The primer bulb is a vital component of a lawn mower’s fuel system that serves to provide the initial fueling required to start the engine. Understanding its role and efficiency is essential for maintaining a well-functioning lawn mower. This article will guide you through the proper steps on how to replace the primer bulb on a lawn mower, but first, let’s delve into the fundamental understanding of the primer bulb.
Explaining The Purpose Of A Primer Bulb
The primer bulb is designed to draw fuel from the carburetor and into the combustion chamber to facilitate the starting process of the engine.
Signs Of A Faulty Primer Bulb
A faulty primer bulb can present several signs that indicate replacement is necessary. These signs include:
- Cracks or visible damage on the bulb’s surface
- Difficulty in starting the engine
- Inability to maintain proper pressure when pressed

Credit: dengarden.com
Preparing For Replacement
Tools Required For Replacing The Primer Bulb
Before beginning the process of replacing the primer bulb on your lawn mower, it’s important to gather the necessary tools. Having the right tools on hand will make the replacement process much smoother and efficient. Some of the essential tools you will need for this task include:
- Screwdriver set (flathead and Phillips head)
- Needle-nose pliers
- New primer bulb
- Clean cloth
- Work gloves
Safety Precautions To Take Before Starting The Replacement Process
Before starting with the replacement, it’s crucial to take some safety precautions to ensure a safe and successful process. Safety should always be a top priority when working with any kind of machinery. Here are some critical safety precautions to keep in mind:
- Ensure the lawn mower is turned off and the spark plug is disconnected to prevent accidental starts.
- Allow the mower to cool down if it has been in use recently to avoid burns from hot surfaces.
- Wear protective gloves to shield your hands from sharp edges or debris.
- Work in a well-lit and ventilated area to have clear visibility and avoid inhaling fumes from the lawn mower.
Step-by-step Primer Bulb Replacement Guide
When your lawn mower’s primer bulb becomes torn or cracked, it can lead to fuel leaks and difficulty starting the engine. Replacing the primer bulb is a straightforward task that can be accomplished with basic tools. In this step-by-step primer bulb replacement guide, we’ll walk you through the process, from draining the fuel to reassembling your mower.
Draining The Fuel
To prevent any fuel spillage, start by removing the fuel cap and placing a drain pan beneath the fuel tank. Then, carefully tip the mower to pour the fuel into the drain pan. Once the fuel tank is empty, securely fasten the fuel cap back onto the tank.
Removing The Old Primer Bulb
Begin by locating the primer bulb on the mower’s engine. Use a screwdriver to loosen and remove the screws holding the primer bulb assembly in place. Once the assembly is accessible, gently pull the old primer bulb out of its socket, ensuring not to damage the surrounding components.
Installing The New Primer Bulb
Before installing the new primer bulb, examine the socket to ensure it’s free from any debris. Then, seat the new primer bulb into the socket, pressing firmly to create a secure fit. Once the bulb is in place, reattach the primer bulb assembly and tighten the screws to hold it securely.
Reassembling The Mower
With the new primer bulb in place, carefully reposition the mower to its upright position. Refill the fuel tank with the previously drained fuel, ensuring the fuel cap is tightly sealed. After the reassembly is complete, give the primer bulb a few pumps to prime the engine before attempting to restart the lawn mower.
Testing And Fine-tuning
Reconnecting The Fuel Line And Checking For Leaks
After successfully installing the new primer bulb, the next step is to reconnect the fuel line to ensure a secure connection. This involves carefully reattaching the fuel line to the primer bulb, making sure it fits snugly to prevent any potential leaks.
Starting The Lawn Mower To Test The New Primer Bulb
With the fuel line securely reconnected, it’s time to start the lawn mower and test the new primer bulb. Give a few quick pumps to the primer bulb to draw fuel into the carburetor. Ensure that the primer bulb fills with fuel (you can visually check). Once the primer bulb is filled, attempt to start the mower to ensure the fuel is flowing properly and the engine starts without any issues.
Adjusting The Primer Bulb For Optimal Performance
After starting the lawn mower, pay close attention to the primer bulb’s performance. If the engine struggles to start or runs inconsistently, it may require some fine-tuning. Make small adjustments to the primer bulb’s positioning to achieve optimal performance, ensuring that each press of the bulb provides the necessary fuel for a smooth start and consistent operation.
Maintaining A Healthy Primer Bulb
When it comes to keeping your lawn mower in top condition, maintaining a healthy primer bulb is key. The primer bulb is an essential component that helps to deliver fuel to the engine, ensuring smooth and efficient start-ups. By taking the necessary steps to preserve the longevity of the primer bulb, you can avoid common mistakes during replacement and keep your lawn mower running smoothly for years to come.
Tips For Preserving The Longevity Of The Primer Bulb
- Regular Inspection: Inspect the primer bulb for any signs of wear and tear, such as cracks or deterioration. Catching these issues early can prevent further damage and prolong the life of the bulb.
- Use Quality Fuel: Always use high-quality fuel to prevent clogging and damage to the primer bulb.
- Proper Storage: Store your lawn mower in a dry, sheltered area to protect the primer bulb from exposure to harsh environmental elements that can cause degradation.
- Cleanliness is Key: Keep the area around the primer bulb clean and free of dirt and debris to prevent blockages and ensure proper functioning.
Common Mistakes To Avoid During Primer Bulb Replacement
- Improper Installation: Ensure the primer bulb is correctly installed, with the right orientation and proper sealing, to avoid leaks and inefficiencies.
- Using Low-Quality Replacements: Opt for high-quality, OEM replacement primer bulbs to ensure compatibility and optimal performance.
- Forcing the Bulb: Avoid excessive force when pressing the primer bulb, as it can lead to damage and compromise its functionality.
- Ignoring Surrounding Components: During replacement, take care not to damage other parts or connections in the process.
Frequently Asked Questions Of How To Replace Primer Bulb On Lawn Mower
How Do I Know If My Primer Bulb Needs To Be Replaced?
If your primer bulb feels cracked, dry, or is not springing back into place, it may need to be replaced. Additionally, if you notice fuel leaking around the primer bulb, it’s a clear sign that it needs replacement.
Can I Replace The Primer Bulb On My Lawn Mower Myself?
Yes, you can replace the primer bulb on your lawn mower with basic mechanical skills and the right tools. The process involves removing the old primer bulb, preparing the new one, and installing it securely to ensure the proper functioning of your lawn mower.
What Tools Do I Need To Replace A Primer Bulb On A Lawn Mower?
To replace a primer bulb on a lawn mower, you’ll need basic tools such as a screwdriver, pliers, and a socket wrench. Additionally, having the replacement primer bulb, gloves, and safety goggles are essential for a smooth and safe replacement process.
Are There Any Safety Precautions I Should Take When Replacing The Primer Bulb?
When replacing the primer bulb on your lawn mower, always ensure that the engine is completely cooled down. Additionally, disconnect the spark plug wire to prevent accidental engine start-up. Following safety precautions is crucial to avoid any potential injuries during the replacement process.
Conclusion
Replacing the primer bulb on your lawn mower is a manageable task that can significantly improve the performance of your equipment. With the right tools and a clear understanding of the process, you can quickly and effectively replace the primer bulb, ensuring that your lawn mower operates at its best.
Keeping your equipment in prime condition will lead to a better lawn care experience overall.