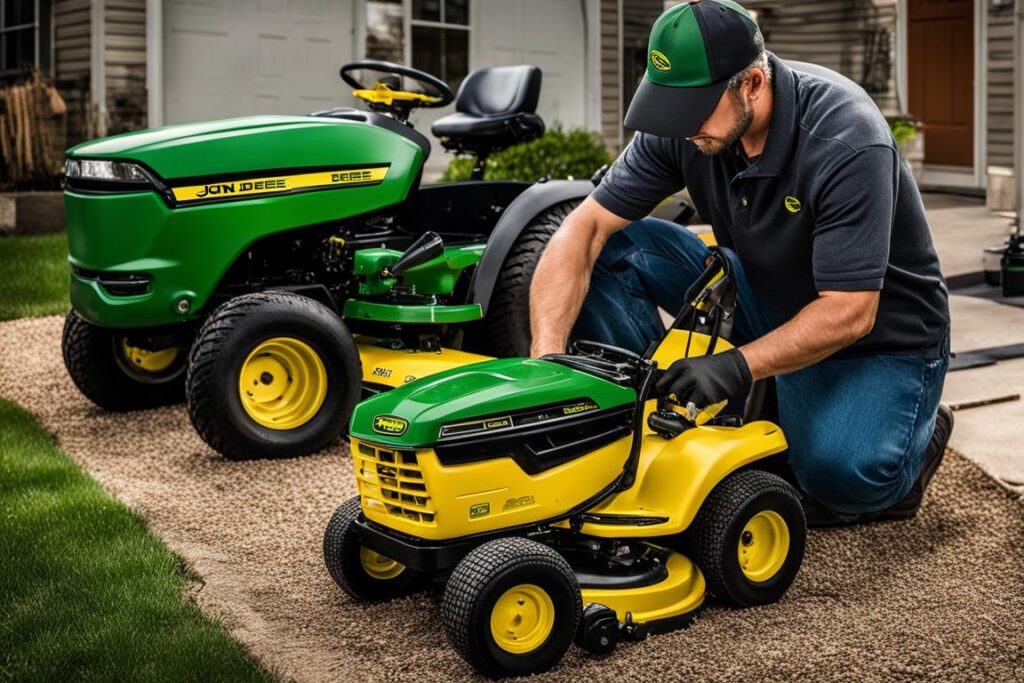
When mowing season comes to an end, it’s important to winterize your John Deere riding mower to ensure it stays in top shape for the next spring. Proper winterization will help protect your mower from the cold temperatures and prevent any potential damage that could occur during the off-season. By following a few simple steps, you can prepare your John Deere riding mower for winter and ensure it’s ready to go when the grass starts growing again.
Key Takeaways:
- Winterize your John Deere riding mower to protect it during the off-season.
- Clean the mower deck and inspect the blades for wear or damage.
- Drain or stabilize the fuel to prevent damage and ensure easy start-up in the spring.
- Change the oil and filters for optimal engine performance.
- Replace the spark plugs and disconnect the battery to prevent corrosion and extend their lifespan.
- Choose a suitable storage location and take precautions against rodents.
- Consult your owner’s manual for specific guidelines and recommendations.
By following these winterization steps, you can keep your John Deere riding mower in great condition and ready for action when the warmer weather returns. Let’s dive deeper into each step to ensure a smooth and hassle-free winter storage for your valuable equipment.
Clean the Mower Deck
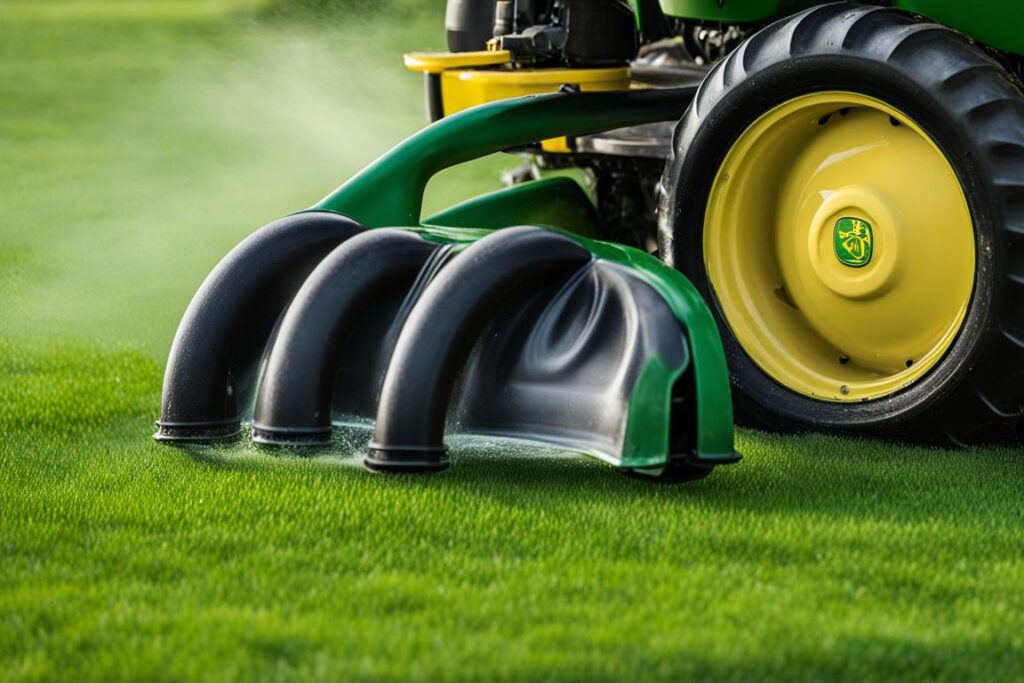
One of the essential steps in maintaining your John Deere riding mower is keeping the mower deck clean. Over time, dirt, grass clippings, and debris can accumulate, hindering the mower’s performance. By regularly cleaning the mower deck, you can ensure optimal cutting results and extend the lifespan of your equipment.
To clean the mower deck, start by removing the grass clippings and debris using a brush or scraper. Pay special attention to the hard-to-reach areas, such as around the blade housing and under the belt covers. These areas are prone to buildup and can impact the mower’s efficiency.
Next, use a garden hose or a pressure washer to wash off the remaining dirt and grime from the mower deck. Be cautious not to spray water directly on any electrical components or belts. If using a pressure washer, adjust the pressure to a suitable level to avoid damaging the mower deck.

After cleaning, thoroughly inspect the mower blades for wear, damage, or dullness. Dull blades can result in uneven cuts and may damage your lawn. If necessary, sharpen the blades using a grinding wheel or replace them if they are beyond repair. It’s recommended to follow the manufacturer’s guidelines for blade sharpening and replacement.
In addition to the blades, inspect the mower deck’s overall condition. Check for any signs of cracks, rust, or other damage. If you notice any issues, address them promptly to prevent further deterioration.
Mower Deck Maintenance Tips:
- Regularly remove debris from the mower deck to prevent clogs and damage.
- After each mowing session, clean the deck thoroughly to maintain optimal cutting performance.
- Inspect the mower blades regularly and sharpen or replace them as needed.
- Check the levelness of the mower deck and adjust if necessary for even cutting.
“A clean mower deck leads to better cutting results and a healthier lawn.”
| Maintenance Task | Frequency |
|---|---|
| Cleaning the mower deck | After each mowing session |
| Inspecting blades and sharpening/replacing | Regularly or as needed |
| Checking mower deck for damage | Regularly or as needed |
By regularly cleaning and maintaining your John Deere mower deck, you can ensure optimal cutting performance and prolong the lifespan of your equipment. Don’t neglect this important step in mower deck maintenance to enjoy a beautiful, manicured lawn year after year.
Drain or Stabilize the Fuel
Properly handling the fuel is crucial for winterizing your John Deere riding mower. You have two options for managing the fuel: draining or stabilizing it.
If there is only a small amount of fuel left in the tank or if you plan to store the mower indoors, draining the tank is recommended. This ensures that no old fuel remains in the system to become stale or cause potential issues when starting the mower in the spring.
On the other hand, if you prefer to top off the fuel tank, using a fuel stabilizer is essential. Adding a fuel stabilizer helps prevent fuel deterioration, gum deposits, and varnish buildup during the winter months. It also protects the fuel system from corrosion and helps ensure smooth engine startup in the spring.
When using a fuel stabilizer, it’s important to follow the manufacturer’s instructions for the correct amount to add based on your mower’s fuel capacity. Be sure to run the engine for a few minutes after adding the stabilizer to allow it to circulate through the fuel system effectively.
Table: Fuel Handling Options for Winterizing Your John Deere Riding Mower
| Fuel Handling Options | Usage Scenario | Benefits |
|---|---|---|
| Draining the fuel | – Only small amount of fuel remaining – Mower will be stored indoors |
– Prevents fuel from becoming stale – Reduces the risk of fuel-related issues in spring |
| Adding fuel stabilizer | – Topping off fuel tank – Mower will be stored outdoors |
– Prevents fuel deterioration – Guards against gum deposits and varnish buildup – Protects fuel system from corrosion |
Choose the fuel handling option that suits your circumstances best. Whether you decide to drain the fuel or add a stabilizer, taking the necessary steps to maintain the fuel system of your John Deere riding mower will help ensure hassle-free operation when it’s time to start mowing again in the spring.
Change Lawn Mower Oil and Filters
Proper maintenance of your John Deere riding mower includes changing the oil and replacing the filters before storing it for the winter. By following these steps, you can ensure that your mower is ready for the next mowing season.
Steps to Change the Oil
- Start by positioning the mower on a flat surface and let the engine cool down.
- Locate the oil drain plug underneath the mower and place a container beneath it to catch the old oil.
- Remove the drain plug and allow the oil to completely drain out.
- Once the oil has drained, replace the drain plug and tighten it securely.
- Proceed to refill the oil tank with the recommended type and amount of fresh oil, as specified in your owner’s manual.
Replacing the Oil Filter
Changing the oil filter is essential for maintaining proper engine performance. Here’s how to do it:
- Using an oil filter wrench, loosen and remove the old oil filter.
- Apply a thin layer of new oil to the gasket of the new oil filter.
- Install the new oil filter and hand-tighten it securely.
Maintenance of Air Filter
“A clean air filter is vital for the smooth operation of your mower’s engine.”
To maintain the air filter in your John Deere mower:
- Locate the air filter housing, typically situated near the engine.
- Remove the cover to access the air filter.
- If the air filter is made of paper, replace it with a new one. If it is a foam filter, clean it with warm soapy water, rinse thoroughly, and allow it to dry completely before reinstalling.
- Ensure the air filter is securely in place and replace the cover.
By regularly changing the oil and filters in your John Deere riding mower, you can extend its lifespan and maintain optimal performance. Remember to consult your owner’s manual for specific instructions and recommended maintenance intervals for your particular model.

Replace Spark Plugs
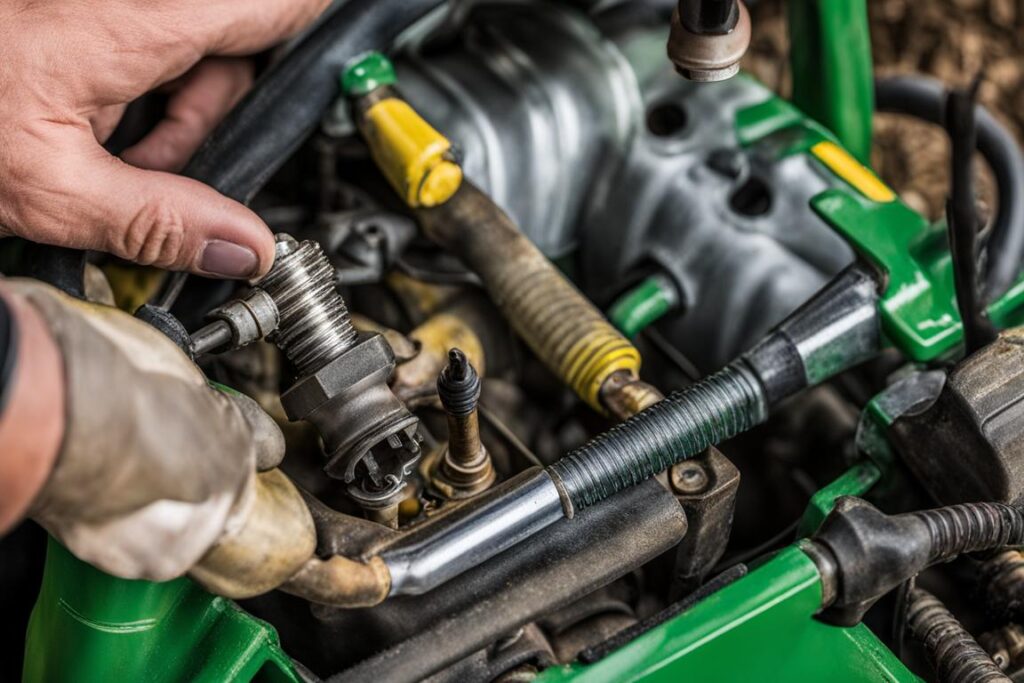
As part of the winterization process for your John Deere riding mower, it is highly recommended to replace the spark plugs. Proper maintenance of the spark plugs ensures efficient engine ignition and optimal performance. Follow these steps to replace your spark plugs:
- Disconnect the spark plug lead from the spark plug by gently pulling it off.
- Using a spark plug socket and ratchet, carefully remove the old spark plugs from the engine.
- Inspect the spark plugs for any signs of wear or damage. If necessary, clean or replace them.
- Check the spark plug gap using a gap gauge. Adjust the gap as per the manufacturer’s specifications.
- Before installing the new spark plugs, apply a touch of oil to the cylinder to lubricate it.
- Install the new spark plugs into the engine, making sure they are tightened securely but not overtightened.
- Reconnect the spark plug lead to the spark plug.
If there is any corrosion present on the spark plug lead, clean or replace it to maintain a solid connection. By replacing the spark plugs, you will help ensure smooth starting and reliable engine performance when the mowing season returns.

| Benefits of Replacing Spark Plugs | Maintenance Tips |
|---|---|
| 1. Improved fuel efficiency | 1. Check and adjust the spark plug gap regularly |
| 2. Enhanced engine power and acceleration | 2. Use a spark plug socket and ratchet for proper installation |
| 3. Smooth starting and idle | 3. Apply a touch of oil to the cylinder before installing the new spark plugs |
| 4. Reduced emissions and environmental impact | 4. Clean or replace the spark plug lead if corrosion is present |
Disconnect the Battery
If your John Deere riding mower has a battery, it is important to disconnect it before storing the mower for winter. This simple step helps avoid any potential battery drain and ensures the battery remains in optimal condition during the off-season.
Here is a step-by-step guide to disconnecting the battery:
- Step 1: Start by locating the battery, usually positioned under the rider’s seat or in the engine compartment.
- Step 2: Before disconnecting the battery, be sure to wear protective gloves to prevent any accidental shocks or injuries.
- Step 3: To disconnect the battery, start with the negative lead, which is typically marked with a minus (-) symbol.
- Step 4: Loosen the nut or screw securing the negative lead using a suitable wrench or pliers.
- Step 5: Carefully remove the negative lead from the battery post and tuck it away from any metal surfaces to avoid accidental contact.
- Step 6: Now, proceed to disconnect the positive lead, marked by a plus (+) symbol.
- Step 7: Use the appropriate tool to loosen the nut or screw securing the positive lead.
- Step 8: Gently remove the positive lead from the battery post, ensuring it does not come into contact with any metal parts.
Once the battery is disconnected, take the time to clean it and the battery posts using a battery terminal cleaner or a mixture of baking soda and water. This helps remove any corrosion or buildup that may have accumulated over time.
After cleaning, allow the battery to dry completely before proceeding. Then, store the battery in a cool and dry place, away from any flammable substances or heat sources. This helps prevent any potential damage or degradation during the winter months.
Store Your Mower for the Winter
Once you have completed all the necessary maintenance tasks to prepare your John Deere riding mower for winter, it’s time to think about storing it properly. Follow these winter storage tips to ensure your mower stays in excellent condition until the next mowing season.
Choose a Suitable Storage Location
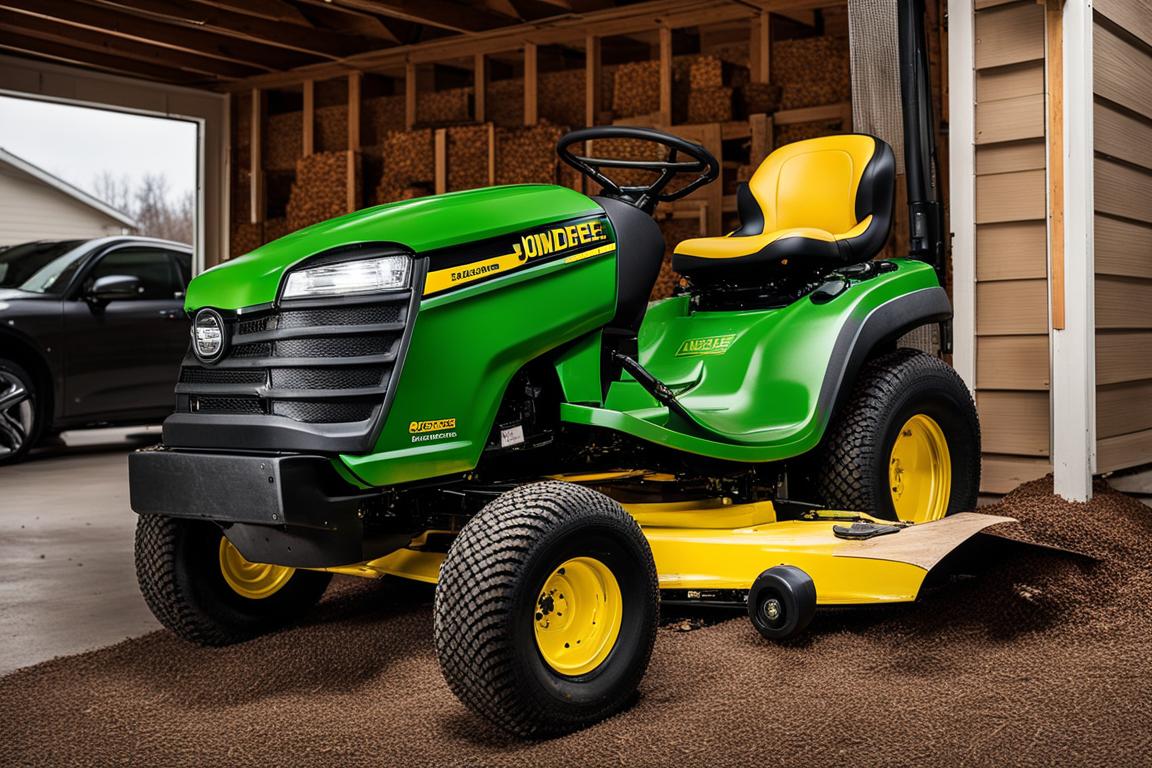
When selecting a storage location for your John Deere riding mower during the winter months, it’s best to find a spot indoors if possible. Storing your mower indoors protects it from the harsh winter elements, such as snow, ice, and freezing temperatures. If indoor storage is not feasible, consider using a quality tarp to cover the mower when storing it outdoors. This will help prevent dust buildup and protect it from any moisture that may seep through. Ensure the tarp is securely fastened to keep pests away.
Protect Against Rodents
One of the concerns when storing a mower is the potential for rodents to take up residence. These critters can cause significant damage to your equipment. To protect your John Deere riding mower from rodents, take preventative measures. Place mothballs or rodent traps near the mower’s storage area, as the strong scent of mothballs can deter rodents. Additionally, inspect the storage space for any potential entry points and seal them off to prevent rodents from getting inside.
Park in a Suitable Location
When storing your mower for an extended period, it’s essential to park it in a spot where it won’t need to be moved frequently. Constantly moving the mower can be inconvenient and could cause unnecessary wear and tear. Find a secure and easily accessible spot where it can remain stationary until it’s time to start mowing again in the spring.
| Storage Tip | Benefits |
|---|---|
| Indoor storage | Protects mower from harsh weather conditions |
| Tarp cover | Prevents dust buildup and moisture damage |
| Mothballs or traps | Deters rodents from causing damage |
| Stationary parking | Minimizes wear and tear during storage |
By following these winter storage tips for your John Deere riding mower, you can ensure it remains in great condition and ready for use when spring arrives.
Conclusion
Taking the time to properly winterize your John Deere riding mower is crucial for its longevity and optimal performance when spring arrives. By following the steps outlined in this article, you can ensure that your mower is well-cared for during the off-season and ready to go when it’s time to resume mowing. Remember to consult your owner’s manual for specific guidelines and recommendations that are tailored to your particular model.
Winterizing a John Deere riding mower involves essential maintenance tasks such as cleaning the mower deck, draining or stabilizing the fuel, changing the oil and filters, replacing spark plugs, and disconnecting the battery. These steps help protect your mower from corrosion, fuel deterioration, and other issues that can arise during storage.
When spring approaches, don’t forget to reverse the winterization process and perform any additional maintenance tasks recommended by the manufacturer. This will ensure that your John Deere riding mower is in top condition and ready to tackle your lawn care needs. By consistently caring for your mower during the off-season, you can extend its lifespan and enjoy a hassle-free mowing experience year after year.
FAQ
How often should I winterize my John Deere riding mower?
It is recommended to winterize your John Deere riding mower at the end of each mowing season to ensure its longevity and optimal performance when spring comes.
How do I clean the mower deck?
To clean the mower deck, use a garden hose or pressure washer to wash off any dirt and debris. Pay special attention to hard-to-reach areas and consider sharpening or replacing the mower blades if necessary.
Should I drain the fuel or use a fuel stabilizer?
You have the option of either draining the fuel tank entirely or topping it off and adding a fuel stabilizer. Draining is recommended if there is only a small amount of fuel left or if you plan to store the mower indoors.
How often should I change the oil and filters?
It is important to change the oil and replace the filters before storing your John Deere riding mower. Consult your owner’s manual for specific recommendations on oil change intervals.
Why should I replace the spark plugs?
Replacing the spark plugs as part of the winterization process ensures proper ignition and efficient engine performance when you start using your mower again in the spring.
How do I disconnect the battery?
Disconnect the battery by removing the negative lead first, followed by the positive lead. Remember to clean the battery and the battery posts before storing it in a cool and dry place.
Where should I store my John Deere riding mower during winter?
If possible, store your John Deere riding mower indoors to protect it from the elements. If storing outdoors, cover it with a tarp and place mothballs or traps nearby to prevent rodent damage.
Why is it important to winterize my mower?
Winterizing your John Deere riding mower ensures its longevity and optimal performance. It helps protect against potential damage caused by freezing temperatures and prevents corrosion and deterioration during the off-season.
